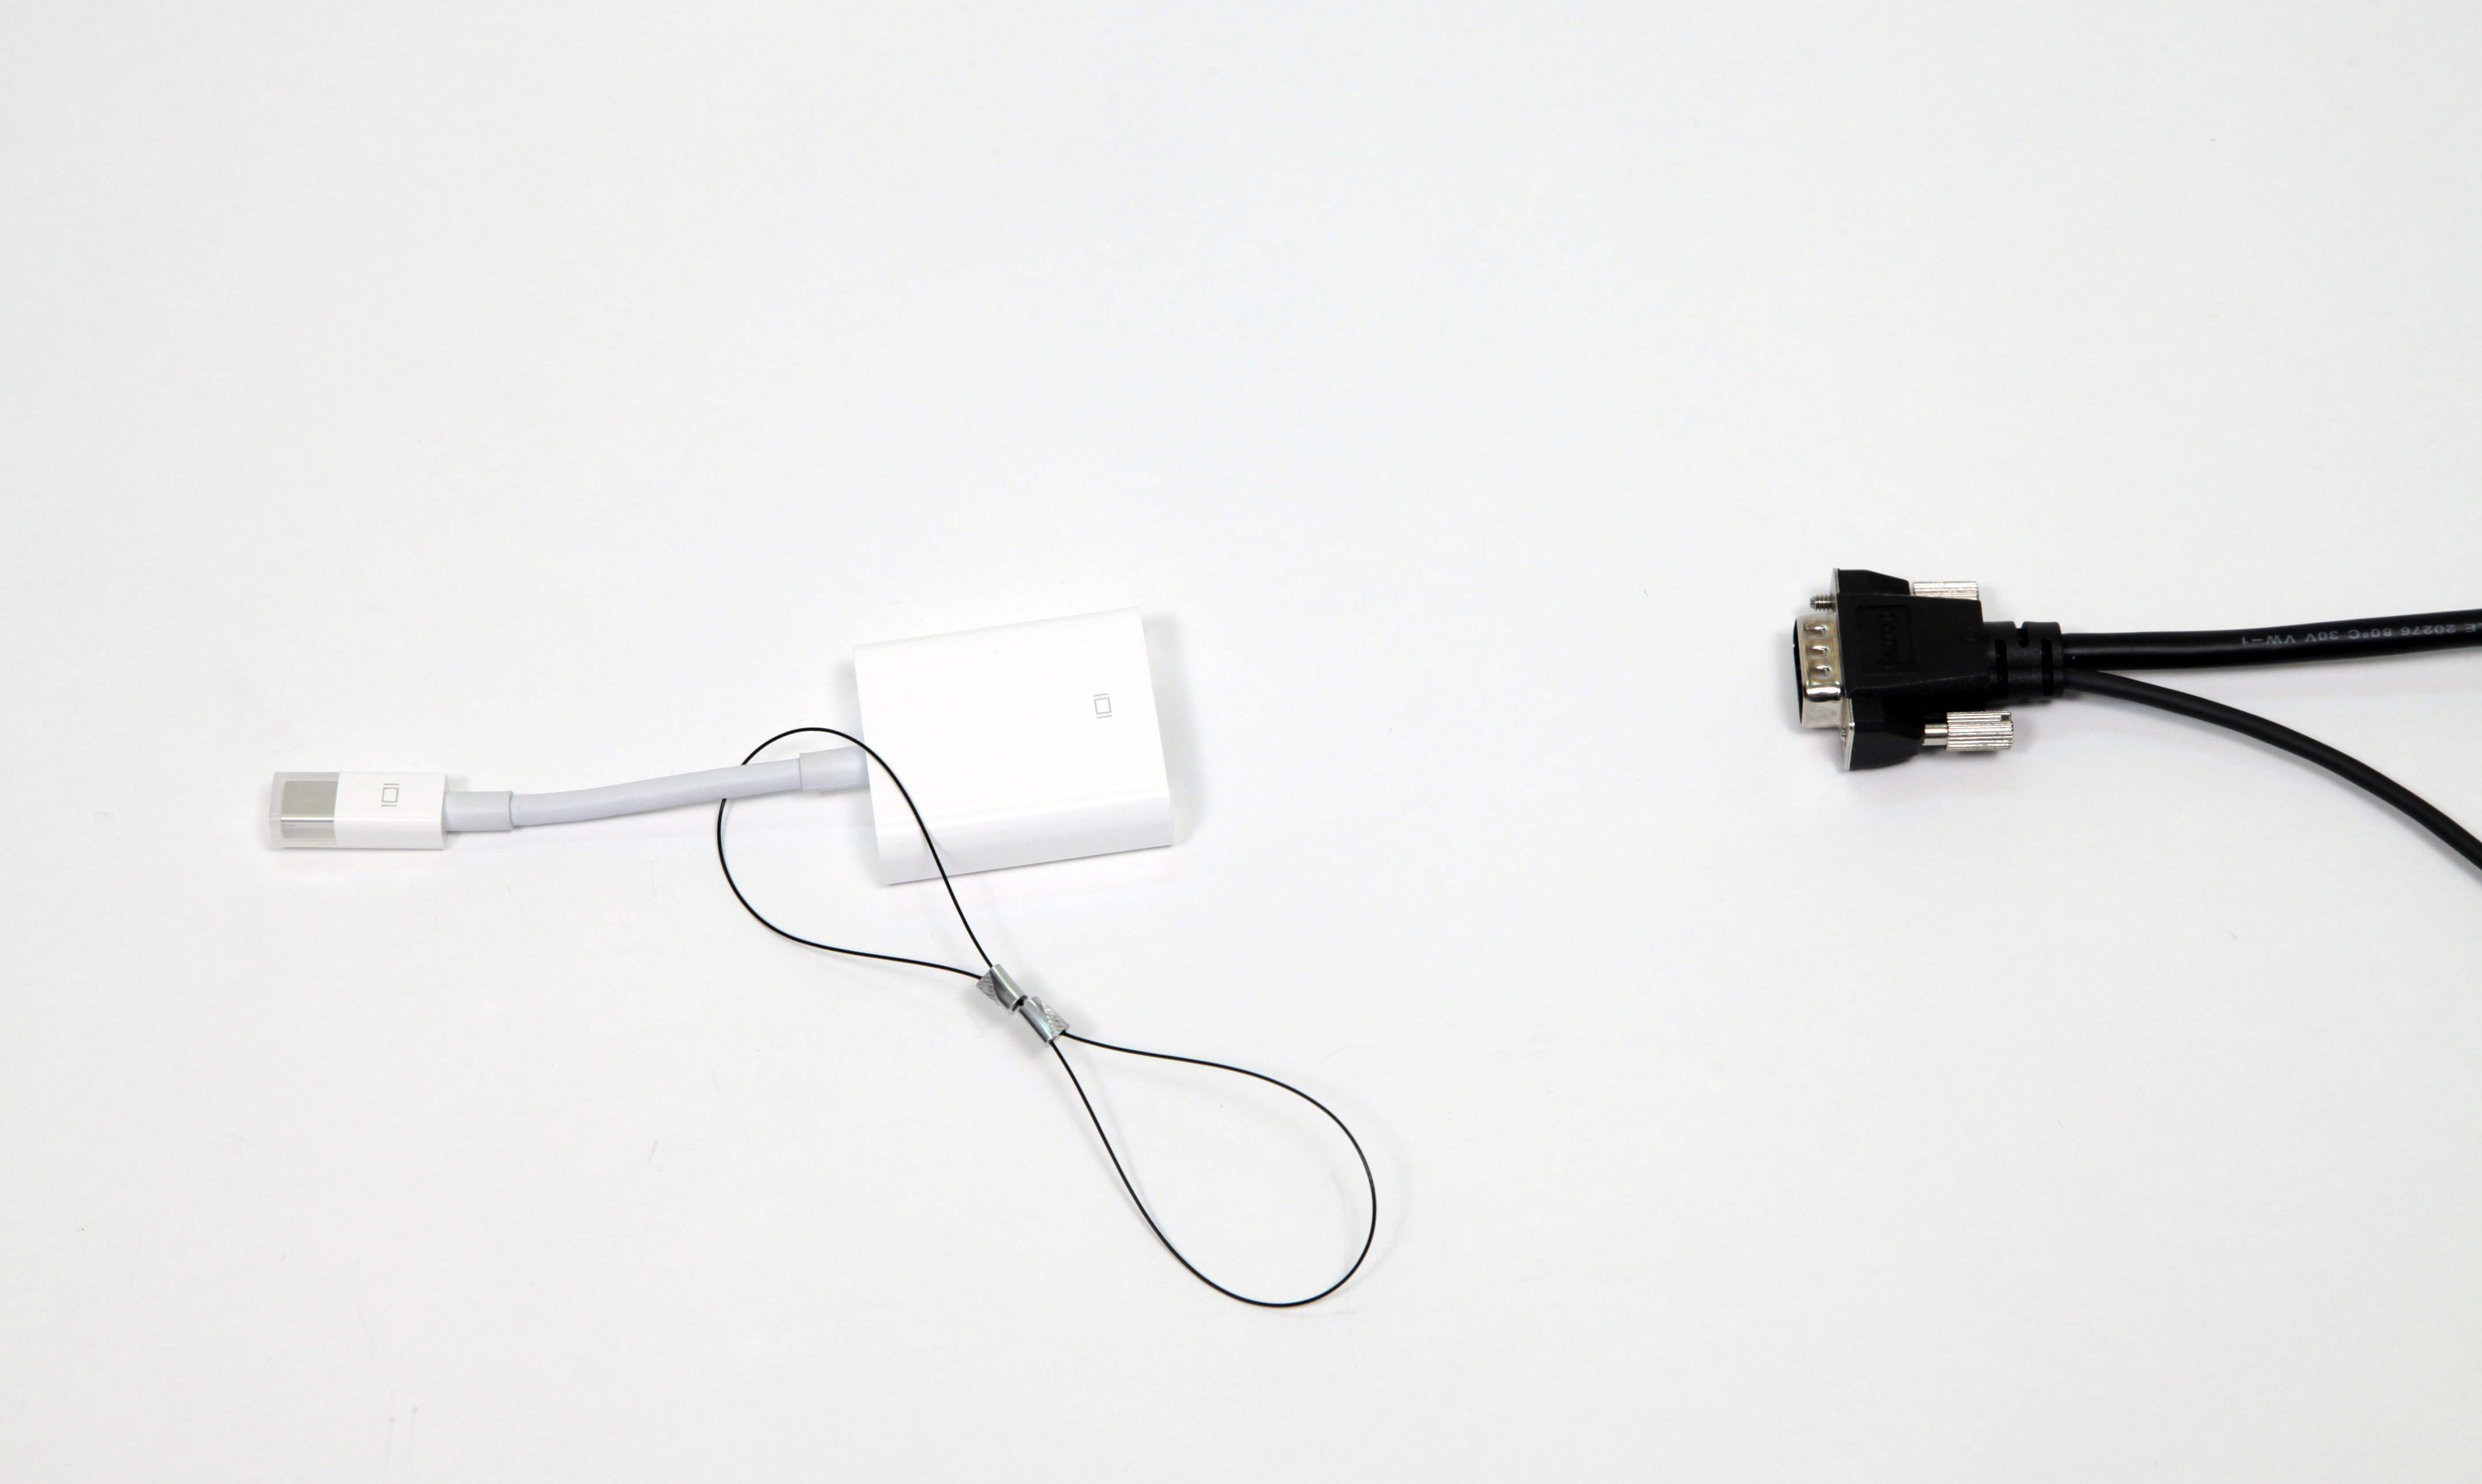
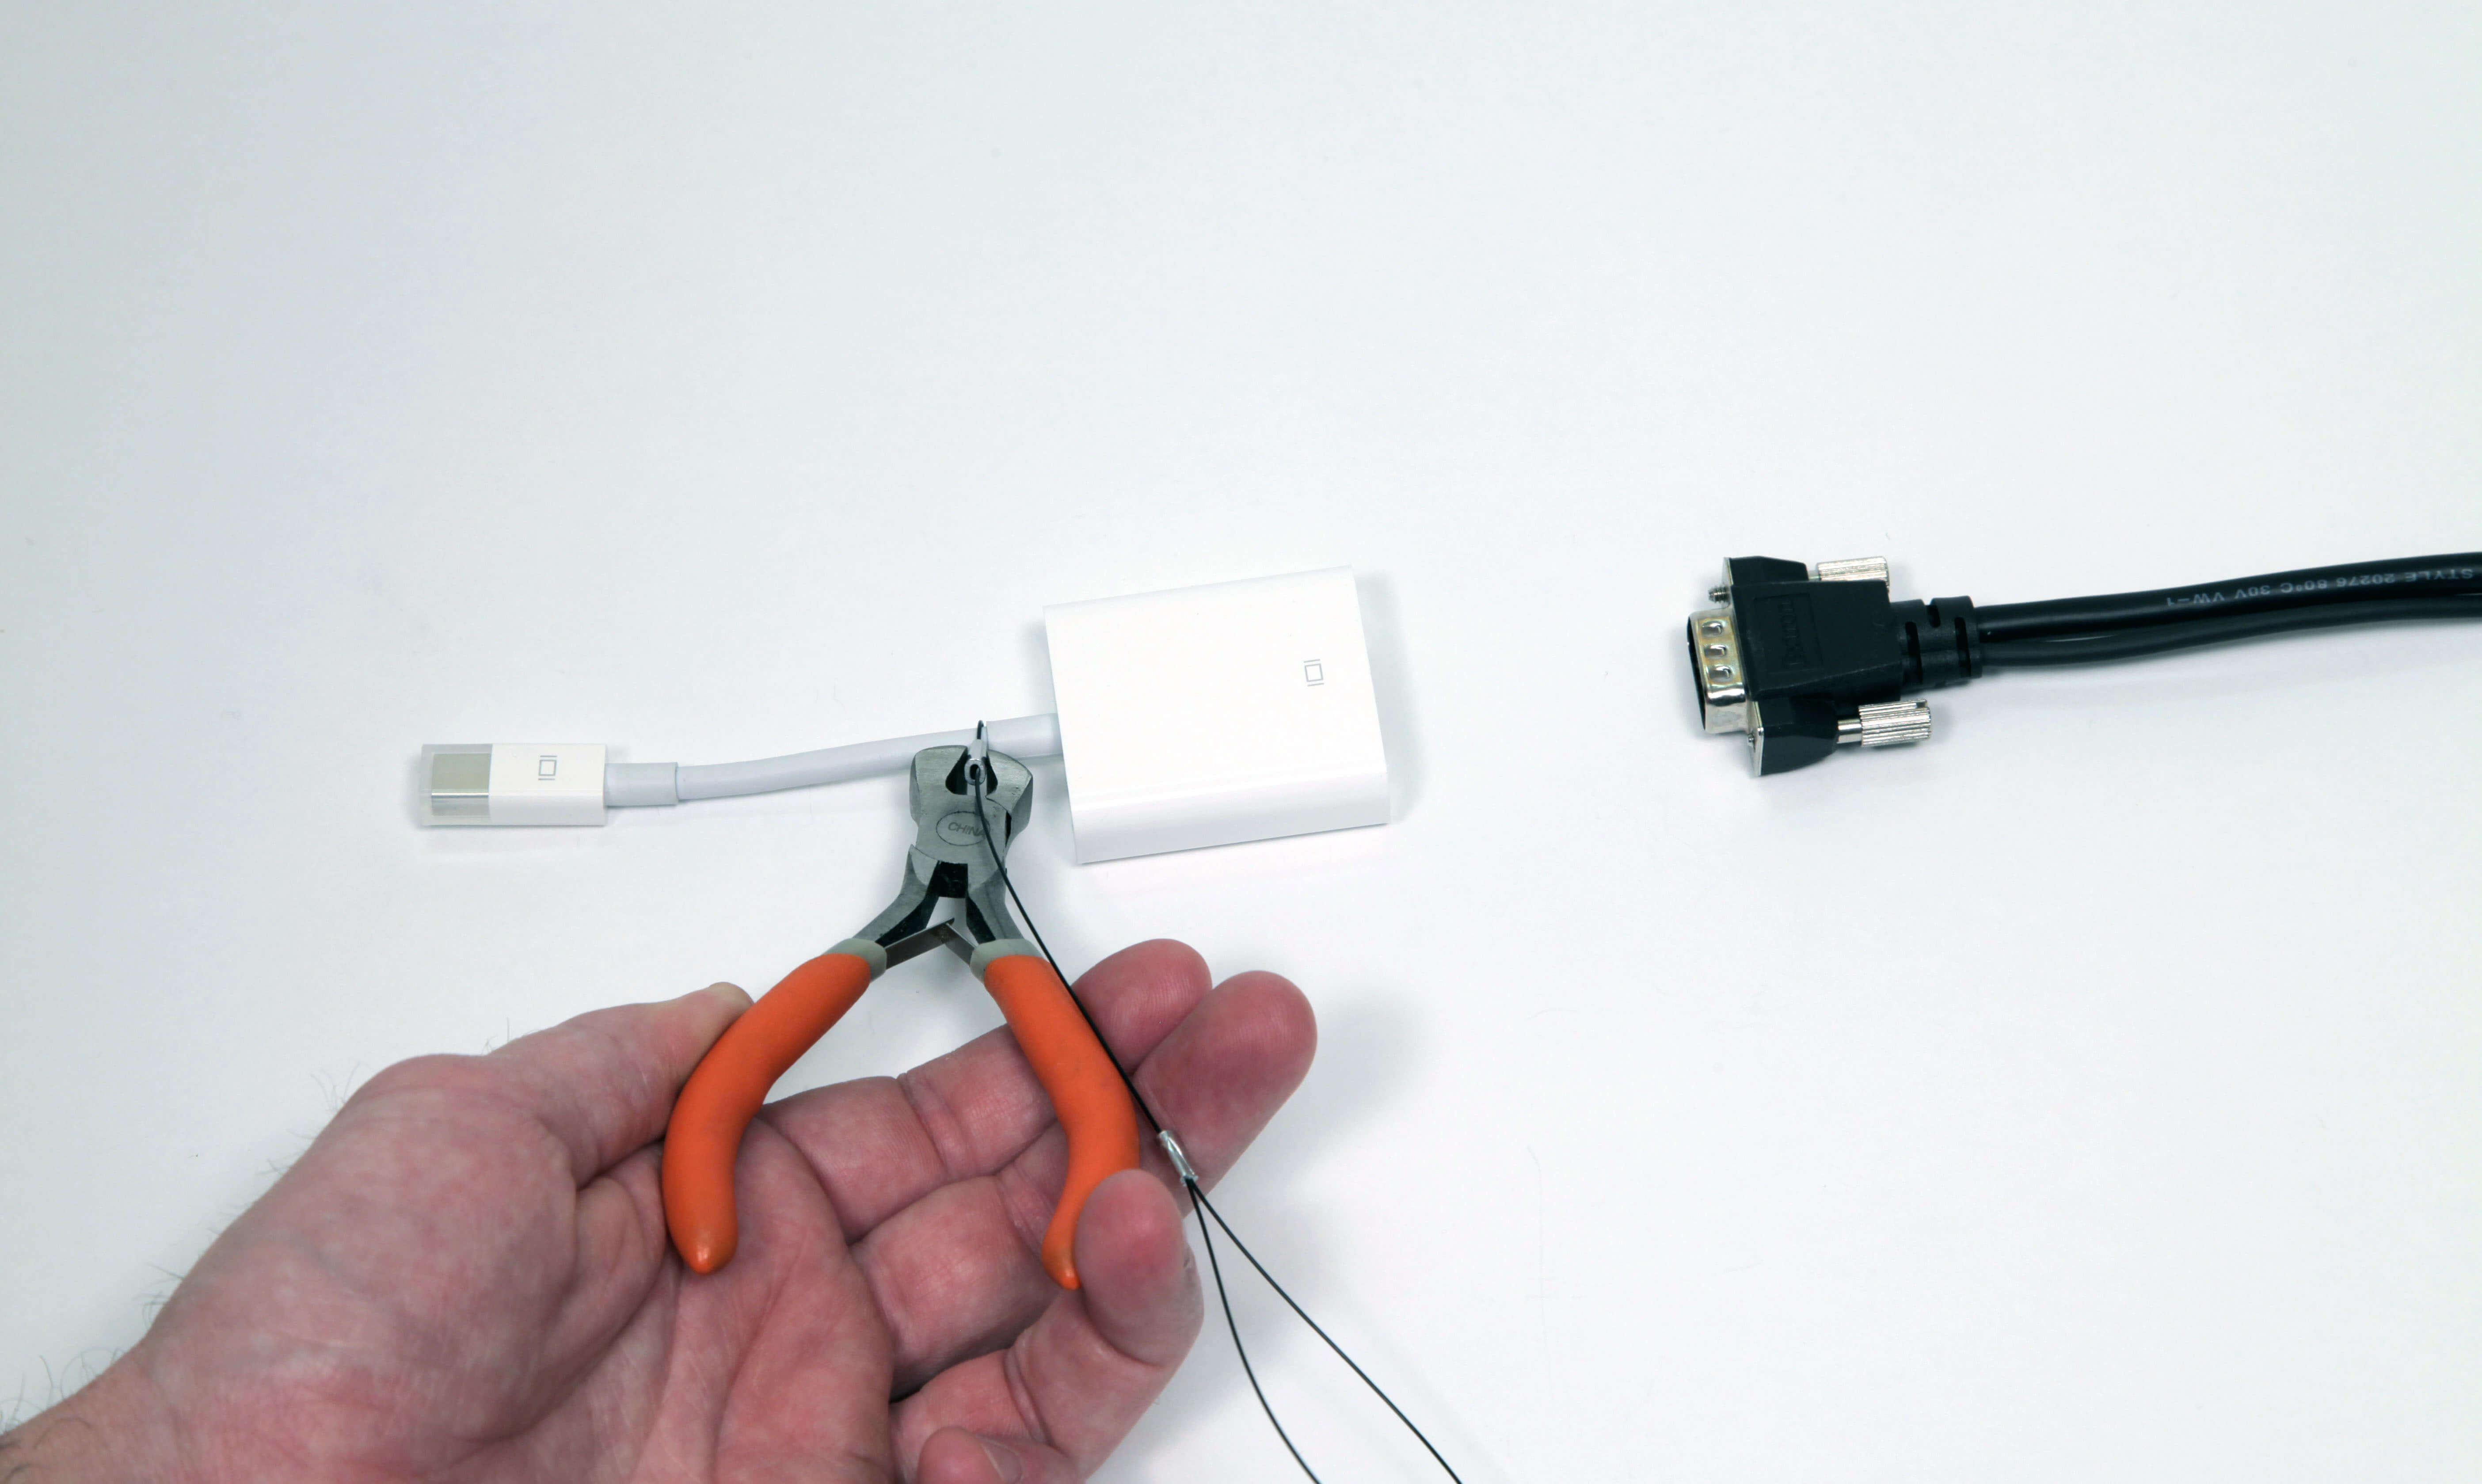
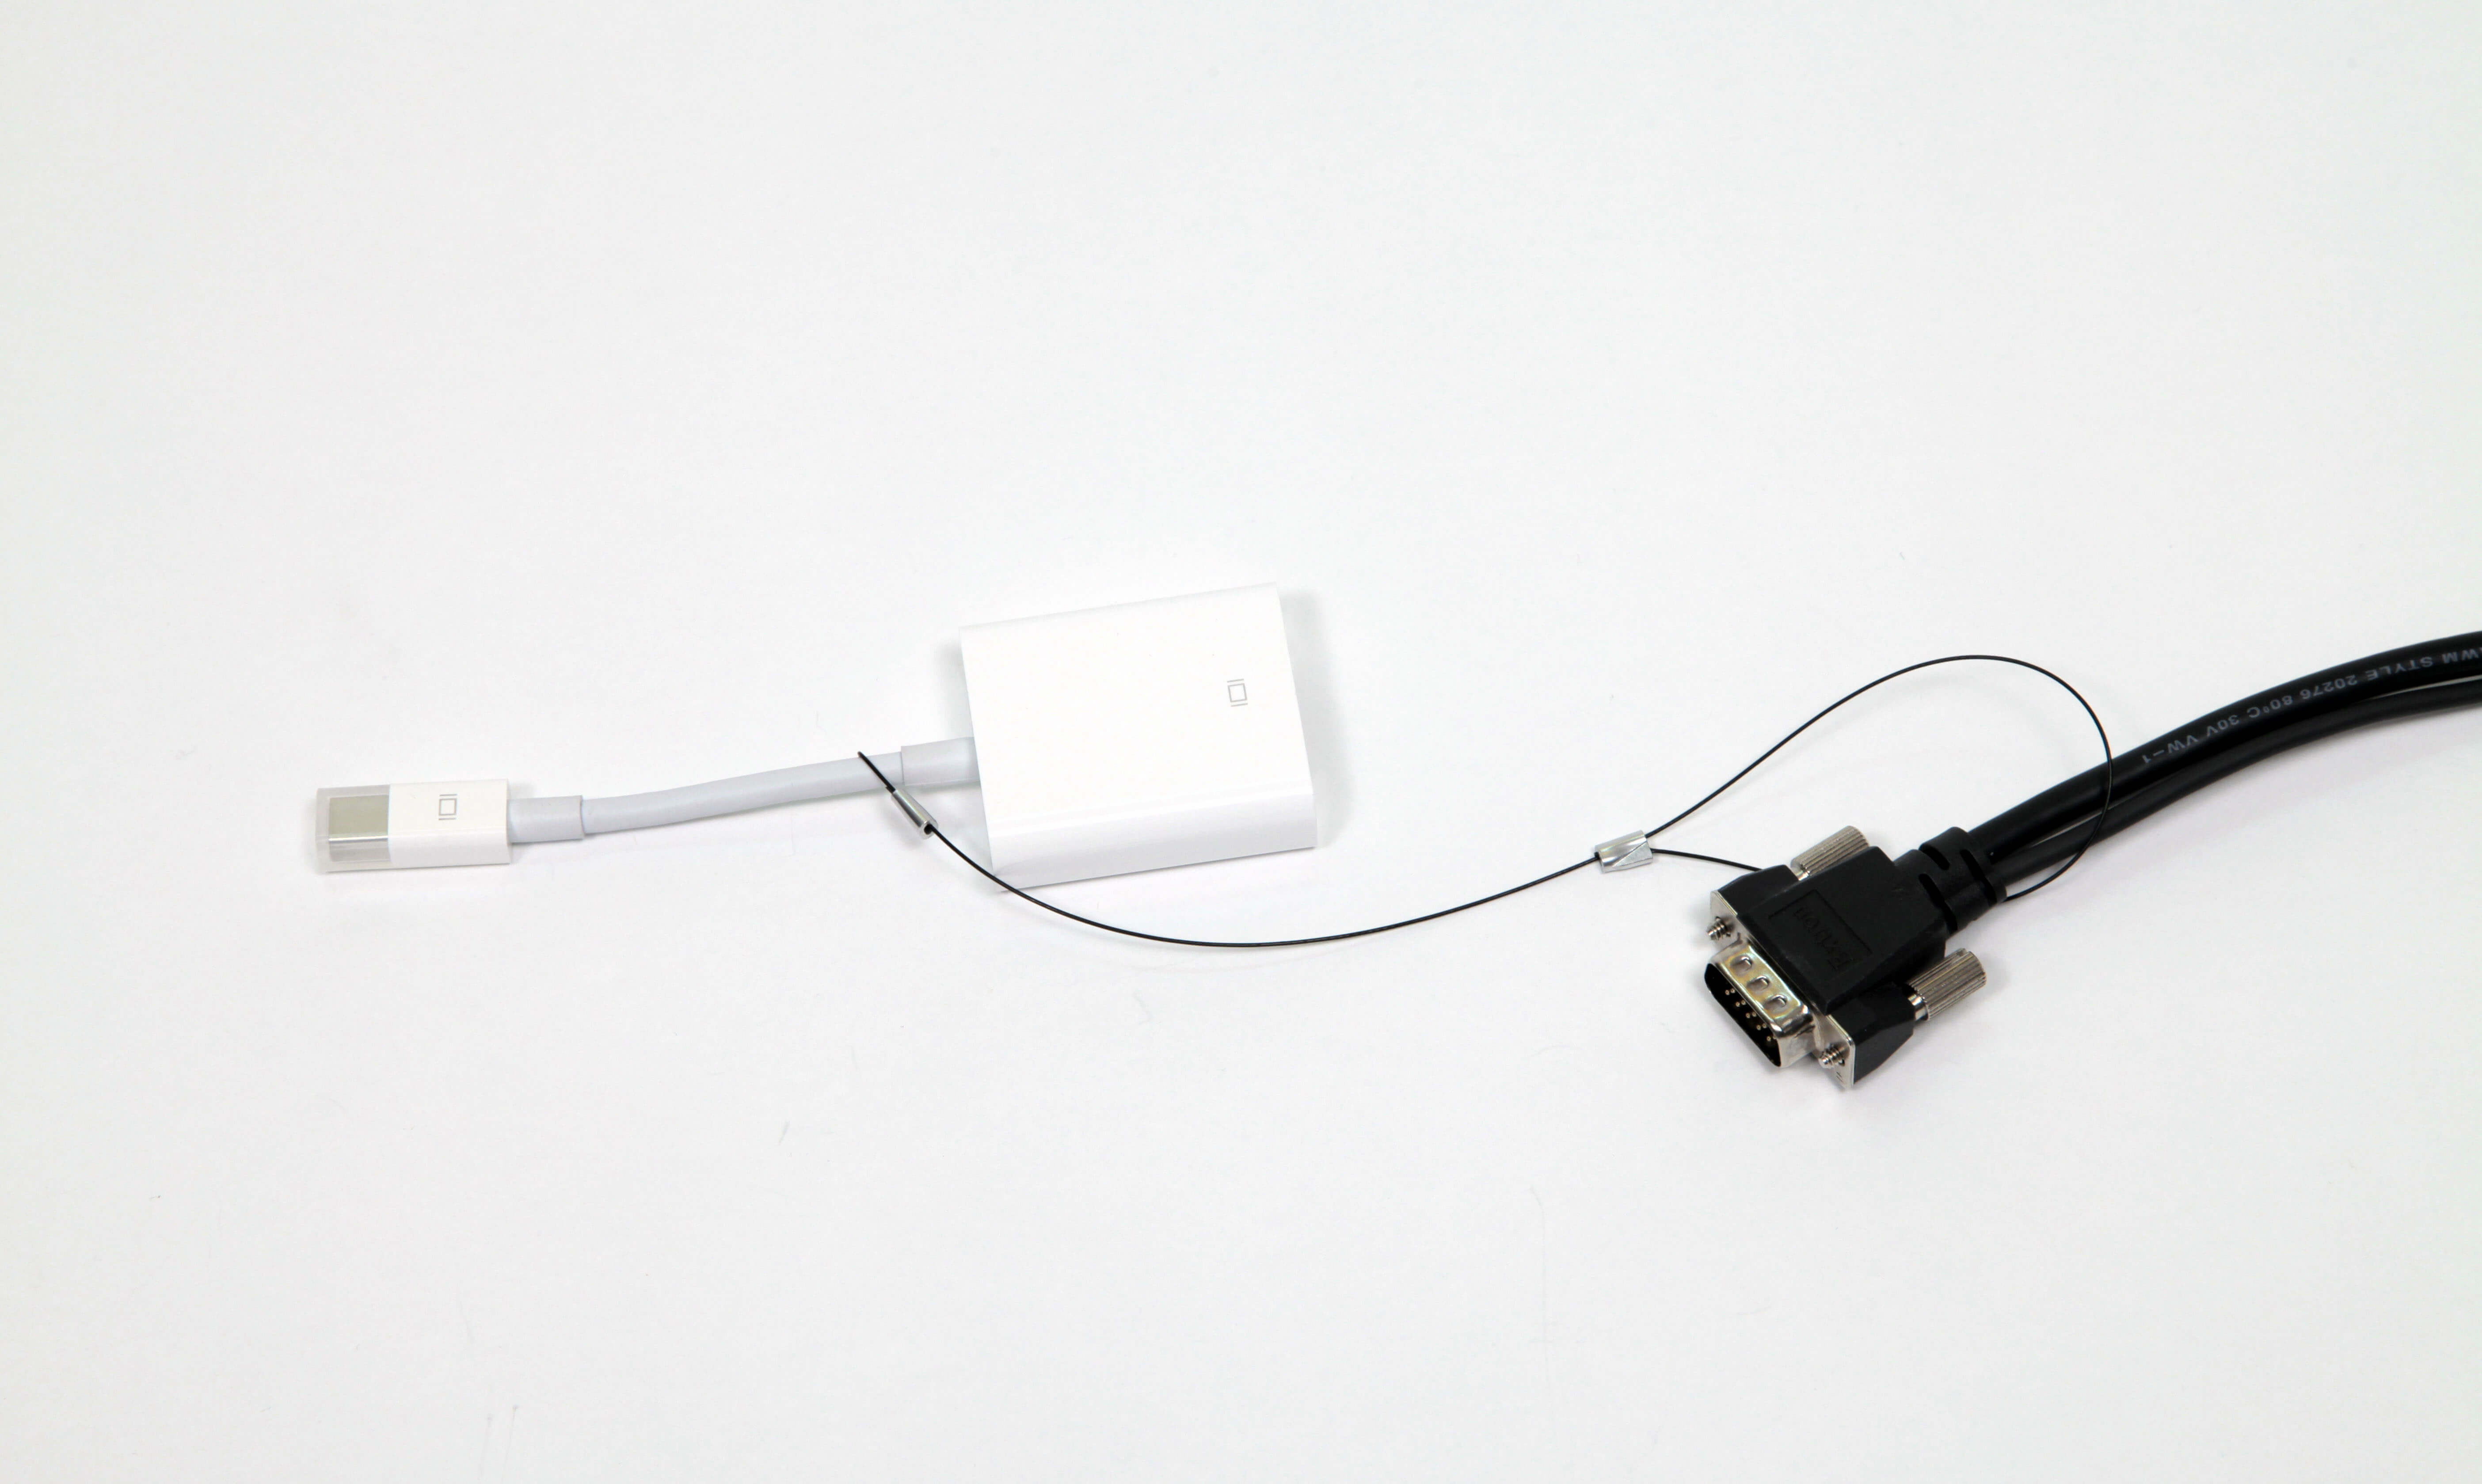
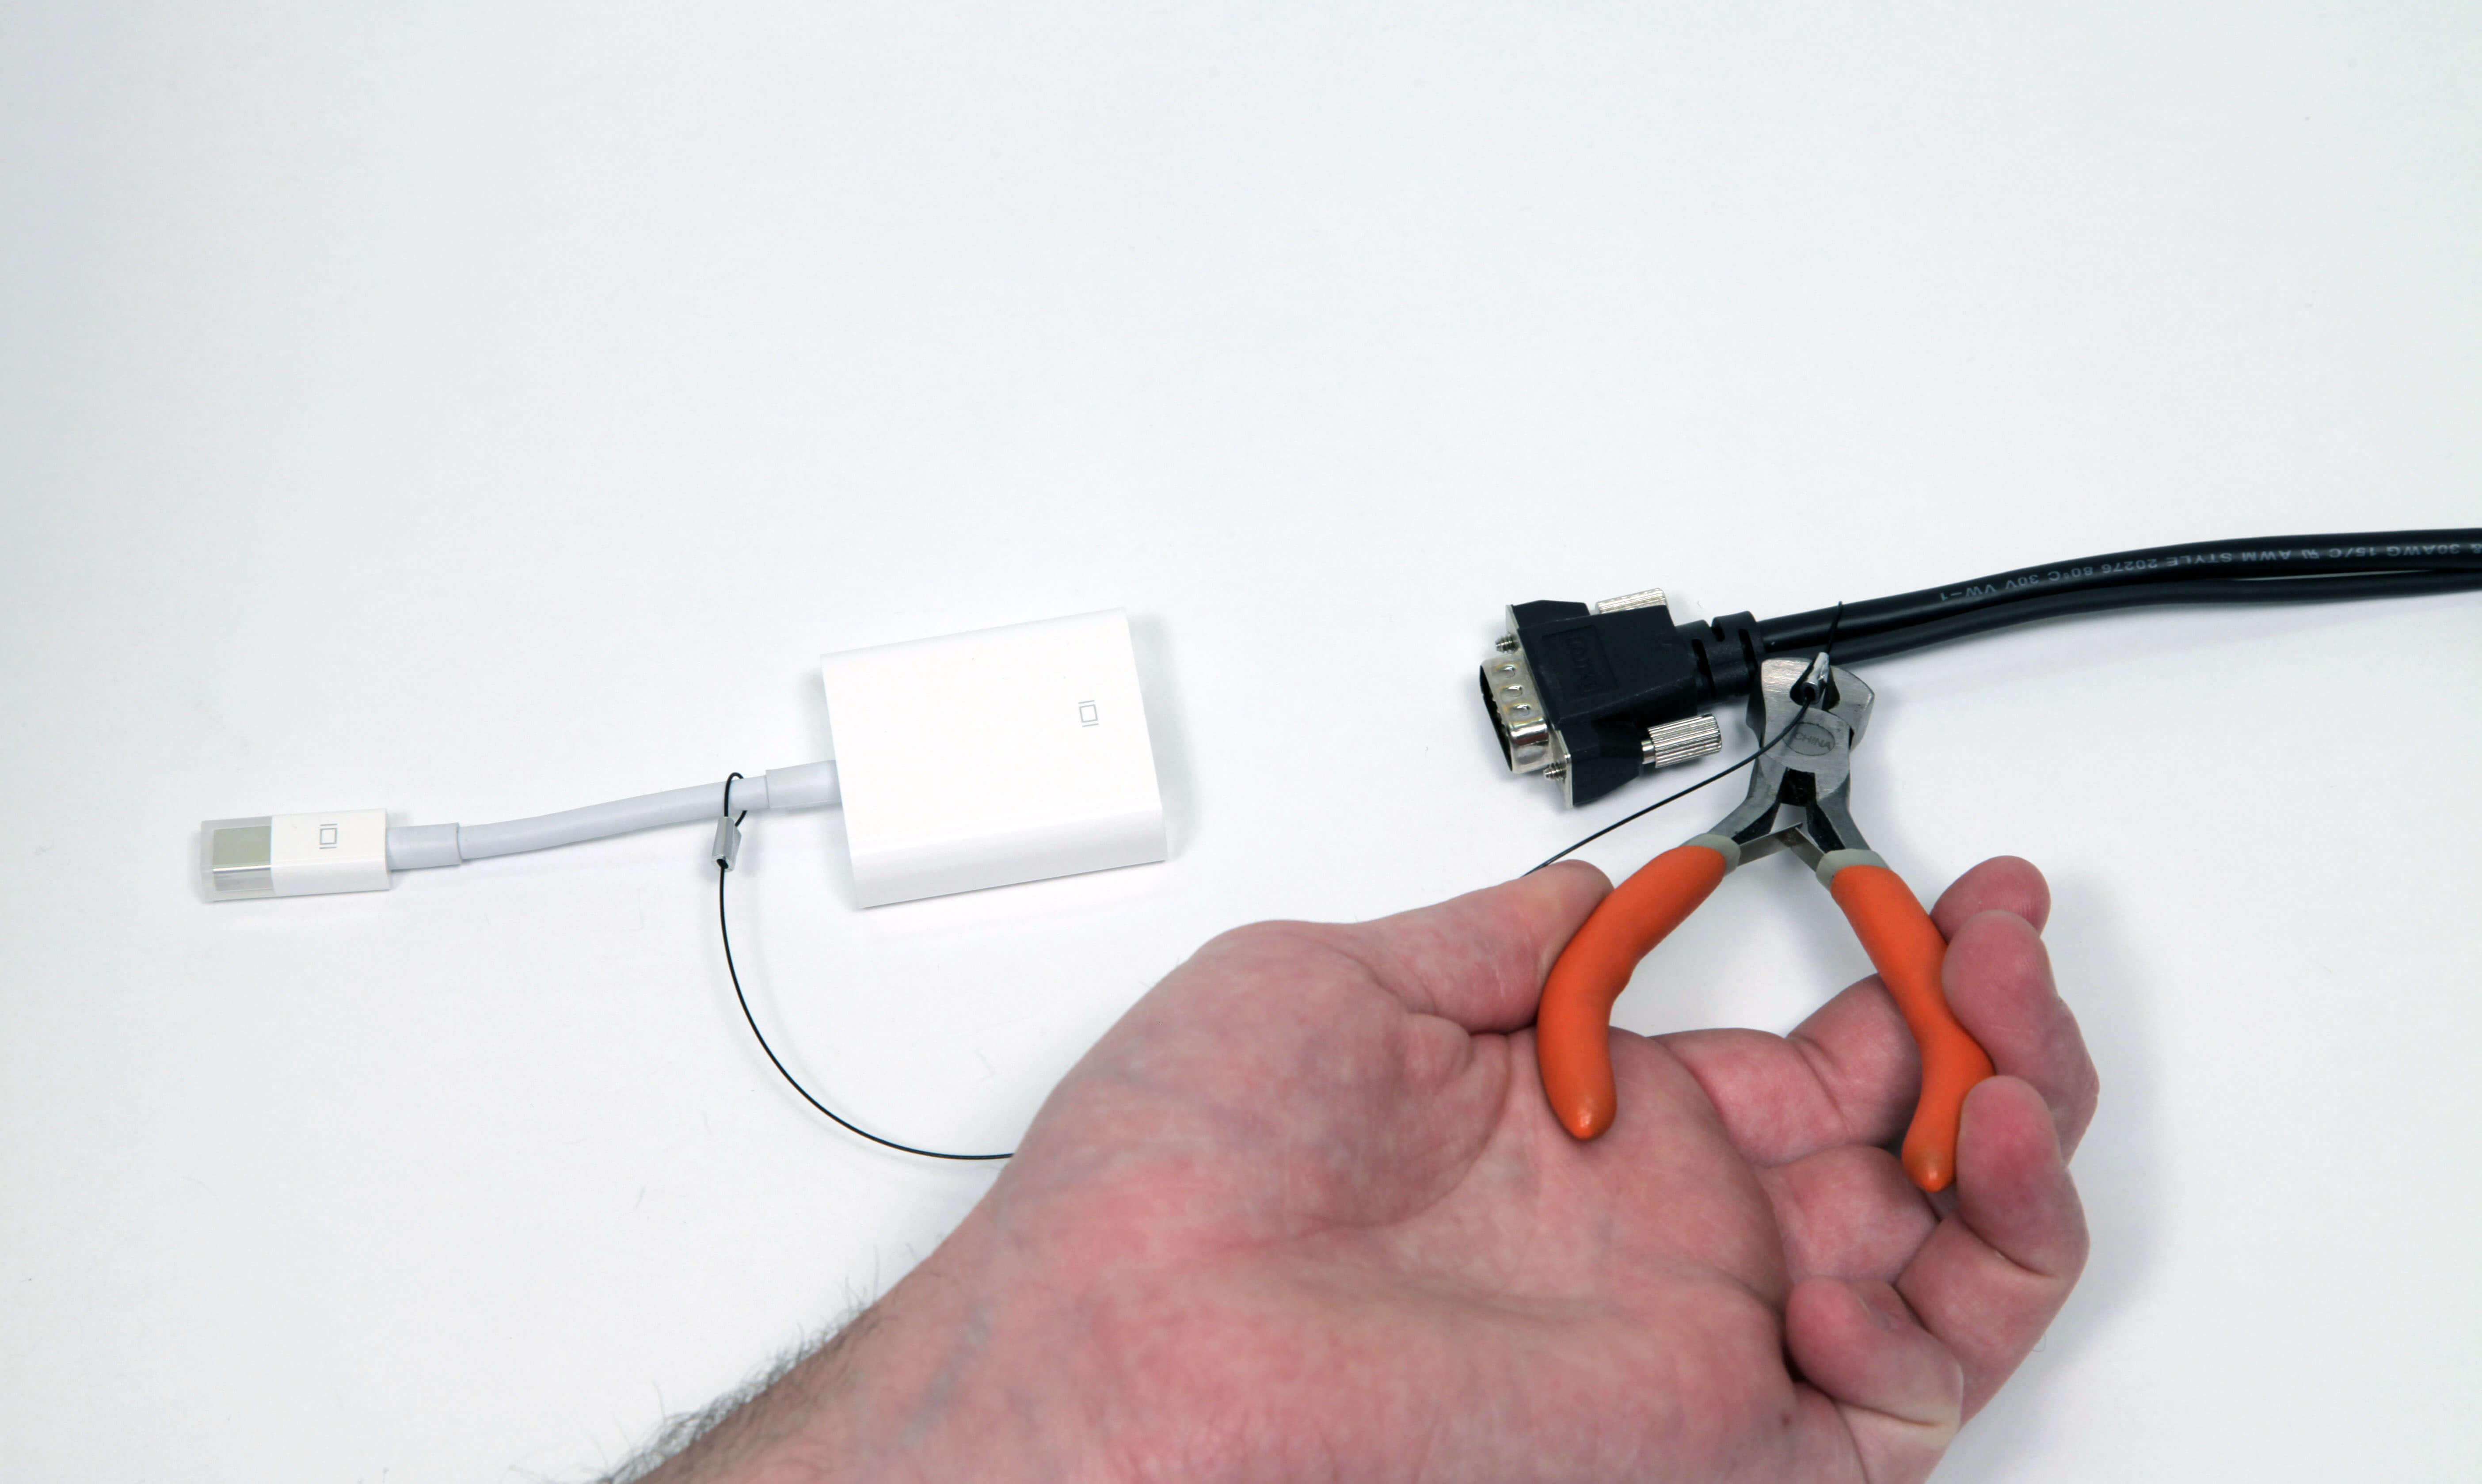
As you’re considering whether TetherTies™ are the right computer peripheral security tool for your organization, we wanted share the simple 4 step installation instructions below. TetherTies come fully assembled, and require only a simple crimp to secure to the TetherTie in place. There’s no need to assemble the TetherTie, nor any need to heat shrink a cover material. To install TetherTies, please follow the steps below and you’ll be up and ready in 15 seconds or less!
1) Slip the loop of one side of your TetherTie over the end of the adapter you’d like to secure.

2) Snug the metal slide up tight on the adapter, and crimp the metal sleeve securely using the enclosed crimping tool.

3) Slip the other loop of your TetherTie around the end of the cable (or other item) to which you’d like to secure the adapter.

4) Snug the metal slide up tight on the adapter, and crimp the metal sleeve securely using the enclosed crimping tool.

NOTE: (On steps #2 and #4) Be sure to use a firm grip with the enclosed crimping tool to fully crimp the metal sleeve.
*For larger installations or to get greater leverage when crimping metal sleeves, linesman pliers serve as a good alternative to the enclosed crimping tool.
Thanks for considering TetherTies. We think you’ll find them useful, and your colleagues will appreciate having adapters and computer peripherals close at hand. And for you, being able to install each TetherTies in under 15 seconds, you’ll have plenty of time for everything else that you’re asked to do everyday!
To download the instructions as a PDF, click here: Guide for Installing TetherTies in 15 Seconds or Less.